We use cookies and similar technologies to recognise your repeat visits and preferences, as well as to measure the effectiveness of campaigns.
By clicking Allow, you agree to the use of cookies in accordance with our Privacy Policy.
Learn more.
Investment in New QA Facility

Significant investment in a new laboratory at Owlett-Jaton’s Head Office in Staffordshire will provide a new base for our Quality Assurance Team. Moving locations has presented an opportunity for Group Quality Manager Steve Phillips to improve the existing facilities into a single dedicated fit-for-purpose department located within their Stone operation.
“The move has allowed us to expand and has provided us with two dedicated rooms, one for sample preparation and limited re-working of products, whilst the other room provides a clean environment for performing inspection and conducting investigations.
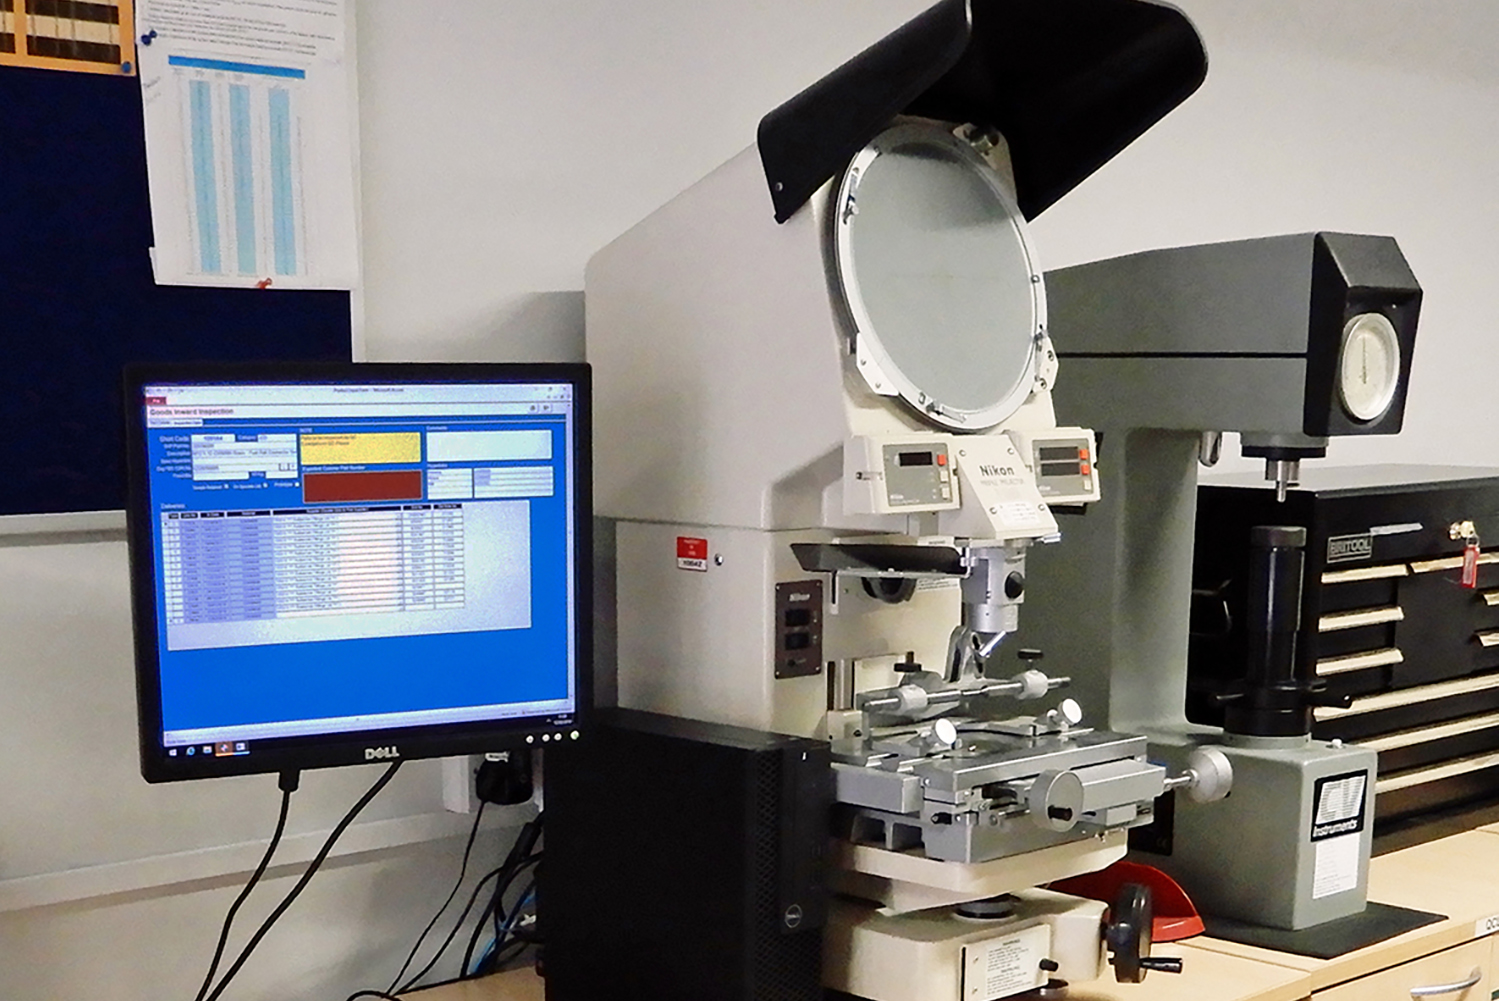
Our optical inspection equipment includes both a Keyence IM-7000 Image Dimension Measuring System together with a more traditional Mitutoyo shadowgraph, allowing us to inspect parts to a high level of accuracy. We also carry out on-site hardness determination to Rockwell B&C scales, and a significant range of the traditional ring, plug and caliper gauges are still invaluable and enable us to inspect a large sample of incoming products”.
Our goods inwards inspection process is rigorous, spot-checking ~50% of inbound fasteners ensuring they conform to the relevant National and International manufacturing standards. A bespoke fastener orientated inspection system is employed, the system provides the dedicated goods inwards inspector with all the information he needs to effectively assess the products without having to reference the applicable manufacturing standard. The inspection system is integrated with our purchasing supplier approval system, providing the inspector with insight as to which manufacturers or products he should focus on if required.
The majority of critical fasteners are sourced from reputable approved manufacturers and are supplied with certification, typically a 3.1 to DIN-EN-10204. The quality department are also equipped and have access to NAMAS (The National Measurement Accreditation Service) approved test facilities which allow more advanced product verification documents to be produced, such as an ISIR (Initial Sample Inspection Report). Customers at enquiry stage can also request a PPAP (Production Part Approval Process) submission from the manufacturer, an essential requirement for the supply of automotive components.


